The first start
 
|
So you have downloaded, configured and installed your X-CD-Roast or someone else has done it for you. You now want to start
it for the first time.
Because you will have to do some settings, change your user id to root. Then, start the program
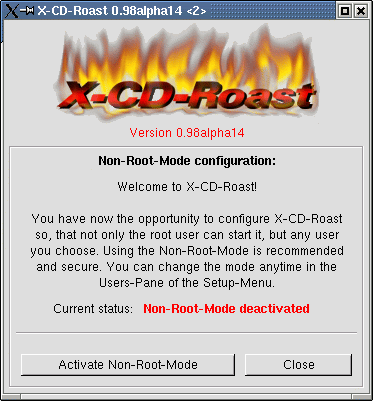
by typing xcdroast. At first, a device-scan starts. When ready, click on OK. Then, you will get a message like this:

To enable other users than root running X-CD-Roast, we suggest activating the non-root-mode. This should be easy-going.
Some distributions ship X-CD-Roast with the
non-root-mode disabled. In this case after typing "xcdroast" as a normal user,
a popup with a request for the root-password comes up.
In this case, replace your X-CD-Roast by a version from www.xcdroast.org.
After activating the non-root-mode as well as after clicking on "Launch X-CD-Roast", you should see a window telling you that
there is no
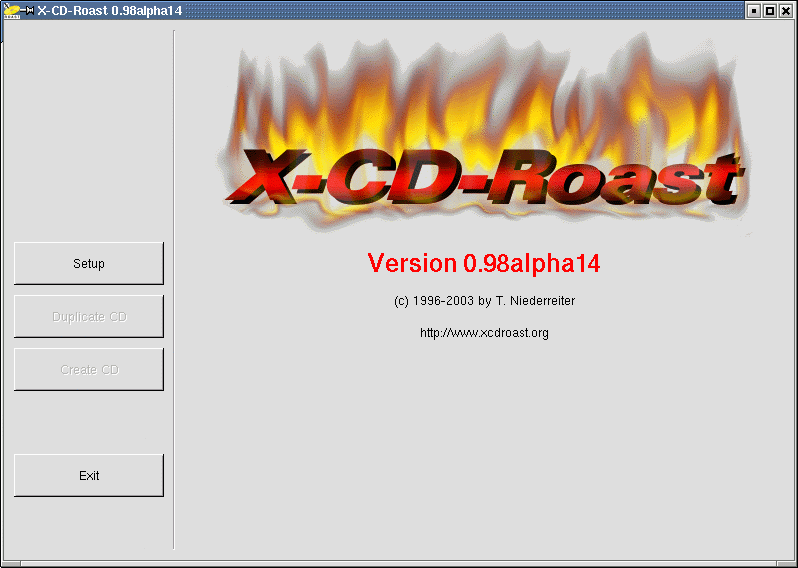
configuration file and you should set it up. Click OK, we will do it right now. As the next step, the Main Menu of X-CD-Roast
shows up:

Note that you can only set up the configuration, the other buttons are disabled because they depend on it.
The setup process
To enter the setup, click on "Setup" in the main menu. Every ordinary user has his own settings, they are stored in his home directory
under .xcdroast. If you want to find out more about where something is stored, try the verbose mode
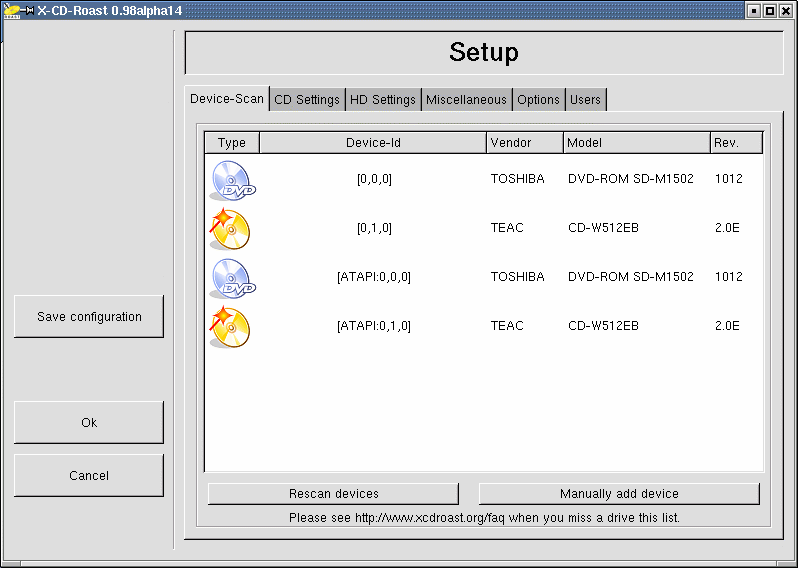
The first page of the setup screen looks like that:

This is the Device-Scan of X-CD-Roast. You can double-click on a device and get information about it.
We see here a common error: double detected devices - this happens because scsi-emulation was
not installed completely. Writing will work as expected but the scanning
might be confusing. Best remove the devices with ATAPI in its device-id
by right-click on it and selecting "remove".
Besides that, you should a least do the following settings:
CD settings
select CD-writer, CD-writer speed, primary & secondary read device and read speed.
Select "paranoia mode" if you want perfect quality at low speed when
ripping CDs
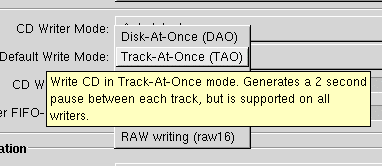
If you are unsure about any option, you can use X-CD-Roast's tooltip help. Try it! Rest your mouse-cursor over an item for 2 seconds,
and an explanation will show up, for example about the default write mode:

The tooltip-help is not only a setup-feature, but available on each of X-CD-Roast's screens.
If it is not yellow, what is default on most systems,
add the following lines to your ~/.gtkrc file, or to /usr/local/etc/gtk/gtkrc (or /etc/gtk/gtkrc - depends where you installed
GTK):
        style "gtk-tooltips-style" {
                bg[NORMAL] = "#ffffc0"
        }

        widget "gtk-tooltips" style "gtk-tooltips-style"
HD settings
Select a path to store your CD-images to (size: about 700 MB each). Do not forget to click on "Add".
Note that you can only add one directory of each partition. You can find out what partitions your paths belong to
by running the command df.
If you have several image directories (on several partitions),
X-CD-Roast will distribute all read tracks automatically to the available directory in case it would run out
of space otherwise. However, it won't break up big images - so a 600 MB image cannot stored when you have 400 MB free in one
directory and
500 MB free in the other. On the other hand an audio-disk with 10 tracks needing about 70 MB disk space each can be stored
easily.
The first 5 tracks would fit it the first directory and the other 5 in the second.
Miscellaneous
Chose your DSP-device, that is your soundcard. Try /dev/dsp and click on "test" to hear a demo sample.
If you have one, set up your proxy for connections to the CDDB server.
Users
In this tab, you can realize your own priviledge management, granting and revoking permissions as well as allowing and denying
access to
special users from special hosts. We recommend setting it to allow everyone everything, in large-scale environments,
you will have your own priviledge concept that you can go along with.
>>> now don't forget to click on "Save Configuration" <<<
 Prolog


 Prolog
